Requirements
- Gnuplot (4 or higher) must be already installed and added to the
$PATHenvironment variable - C++ compiler supporting the
C++17standard (e.g. GCC 9.3 or higher)
Developing with G3P
The single required file is include/g3p/gnuplot which is released here. You need to add:
#include <g3p/gnuplot>At the begining of your code and set the necessary switches to enable C++17 (e.g. -std=c++17 for GCC and Clang).
CMake
Alternatively, you can use CMake 3.19+ to install G3P on your computer with the following commands and then include <g3p/gnuplot> in your program:
git clone https://github.com/arminms/g3p.git
cd g3p
cmake -S . -B build && cmake --build build
cmake --install buildRunning unit tests 🧪
Use the following command after building if you like to run the unit tests as well:
cmake --build build -t testG3P exports a (namespaced) CMake target (g3p::g3p) and also CMake config scripts for downstream applications. This means if your project also relies on CMake and G3P has been installed on your system, a better option is to use find_package() in your project’s CMakeLists.txt as shown below:
find_package(g3p REQUIRED)
add_executable(test test.cpp)
target_link_libraries(test PRIVATE g3p::g3p)Rapid prototyping with Jupyter
One of the coolest features of G3P is the ability to embed plots in Jupyter notebooks with Xeus-Cling kernel for rapid prototyping. That’s a very convenient way to tinker with each and every plot parameters to get the desired output without the hassle of compilation for each step of the way.
Depending on your preference, you can use one/all of the following methods to work with G3P in Jupyter.
Creating a Conda/Mamba environment
The easiest way to install Xeus-Cling is to create an environment named cling using Mamba:
mamba create -n cling
mamba activate cling
Then you can install Xeus-Cling in this environment and its dependencies:
mamba install xeus-cling -c conda-forgeNext, you can use mamba env list command to find where the cling environment is installed and use the following commands to install G3P in the cling environment:
wget https://github.com/arminms/g3p/releases/latest/download/install.zip
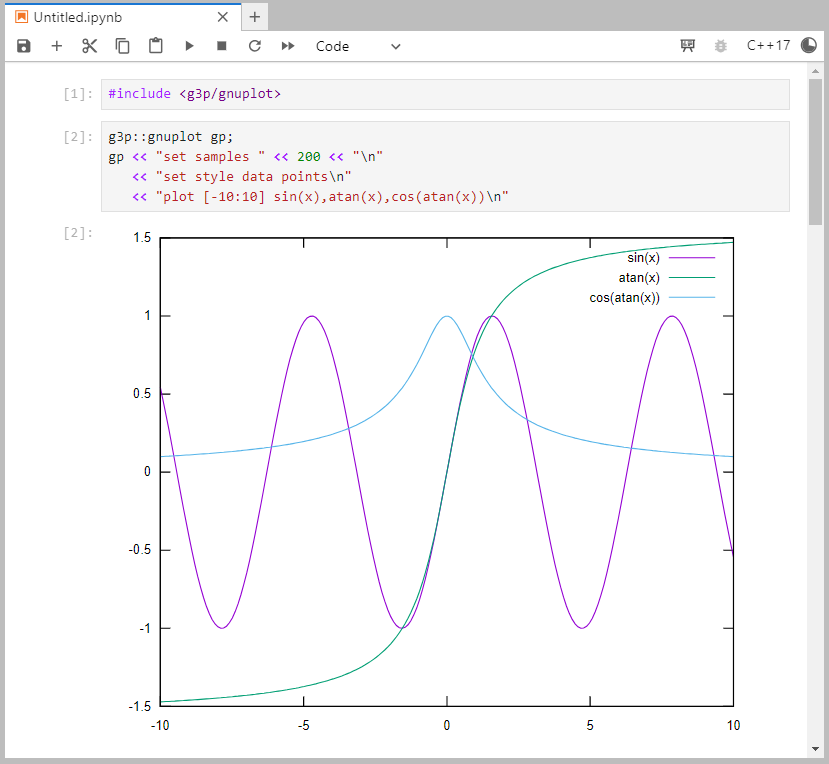
unzip install.zip -d <PATH/TO/CLING/ENV>Now you can launch Jupyter with jupyter lab command and test your setup by copy/pasting the following demo plot in a C++17 notebook and pressing Shift+Enter in the last cell:
#include <g3p/gnuplot>

g3p::gnuplot gp;
gp << "set samples" << 200 << "\n"
   << "set style data points\n"
   << "plot [-10:10] sin(x),atan(x),cos(atan(x))\n"
Output

Creating a Python environment
If you’re more adventurous, you can build Xeus-Cling along with all the dependencies from the source in a Python virtual environment using the bash script available here. As a bonus, you will get a newer version of cling (1.0~dev) based on llvm 13.0 that supports OpenMP and CUDA.
Once done, you can install G3P in your Python environment by unpacking the zip file or using CMake:
git clone https://github.com/arminms/g3p.git
cd g3p
cmake -S . -B build && cmake --build build
cmake --install build --prefix /path/to/python/virtual/environment
The same approach was used to build the container images below.
Using pre-built container images
Docker
docker run -p 8888:8888 -it --rm asobhani/g3pIf you like to work with your notebooks outside the container (e.g. current folder), you can use the following command instead:
docker run -v $PWD:/home/jovyan -p 8888:8888 -it --rm asobhani/g3pYou can also use the above container image as the starting point for your custom-made docker image (e.g. FROM asobhani/g3p:latest).
Apptainer
If you’re working on an HPC cluster, you can use Apptainer instead:
apptainer run docker://asobhani/g3p:latest